


Basic Skin Tutorial
|
|
2 votes |
||||||||||||||||

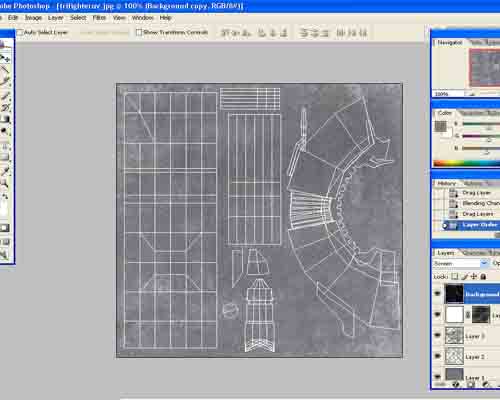
9) Add a layer mask to that layer  and keeping the opacity the same, paint randomly with black.
10) Make another soft light layer, and do the same as step 9, except with grey
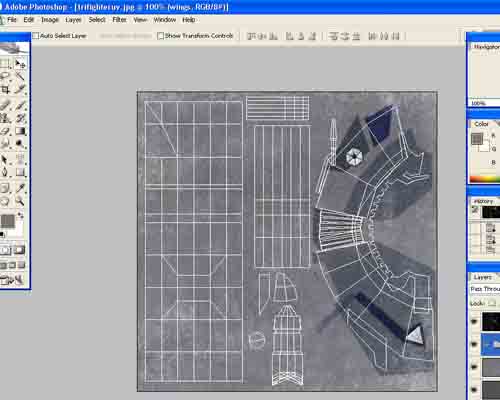
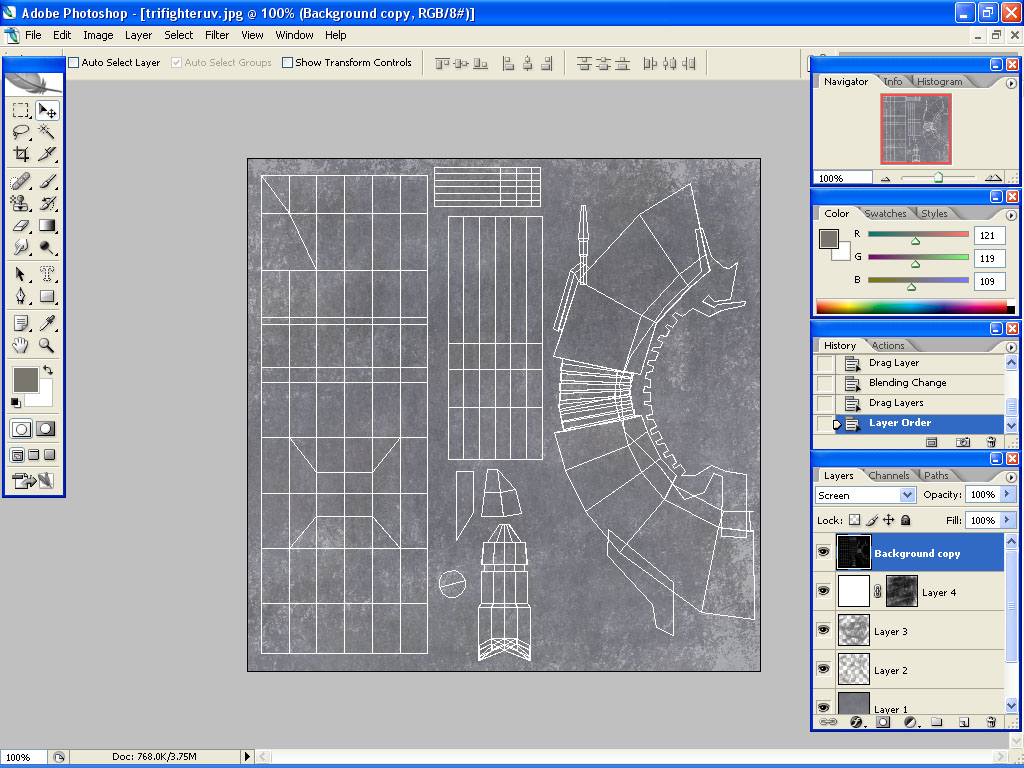
11) Repeat step 9, except with another yellowish color (I used RGB value 121, 119, 109) Fiddle with the opacities of these layers to get the desired pattern.
12) Now it's time to start skinning on specific things. Coloring/logos/markings are up first. Take another color sample and paint the markings on. A useful thing is to use a 1 pixel brush on 100% opacity and draw the outline of your marking, then to use the magic wand tool and fill it in with the rest of the color. In this particular skin, use overlay or soft light, sometimes with more than one layer if using soft light, and play with the opacity. I went offcanon due to the way I UVed this (I care more about skin resolution). It's also very useful to use groups for your layers to save yourself time from scrolling and searching.
and keeping the opacity the same, paint randomly with black. 10) Make another soft light layer, and do the same as step 9, except with grey
11) Repeat step 9, except with another yellowish color (I used RGB value 121, 119, 109) Fiddle with the opacities of these layers to get the desired pattern.
12) Now it's time to start skinning on specific things. Coloring/logos/markings are up first. Take another color sample and paint the markings on. A useful thing is to use a 1 pixel brush on 100% opacity and draw the outline of your marking, then to use the magic wand tool and fill it in with the rest of the color. In this particular skin, use overlay or soft light, sometimes with more than one layer if using soft light, and play with the opacity. I went offcanon due to the way I UVed this (I care more about skin resolution). It's also very useful to use groups for your layers to save yourself time from scrolling and searching.

 Previous
Comments
Display order: Newest first
Duke - Friday February 22, 2008 - 14:29
Great tutorial Nick! Keep it up 