


Basic Skin Tutorial
|
|
2 votes |
||||||||||||||||

1) Go to Texporter and set the imagesize to be 512 x 512, uncheck polygon fill, backface cull, mark overlaps, and set the colorize by setting to be constant with the color white.
If you don't have Texporter, then take a screenshot of the UV map and crop it.
2) Save your UV map as a jpg file and open it with Photoshop
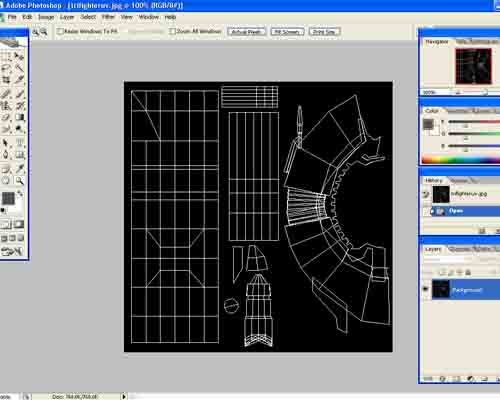
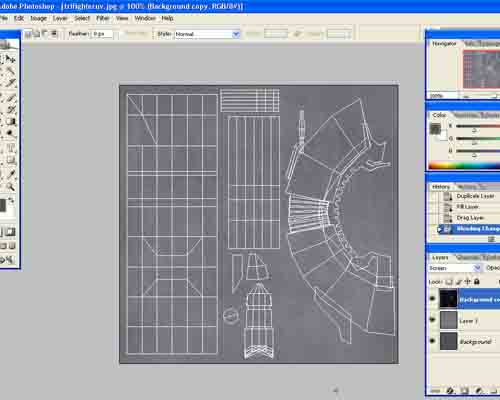
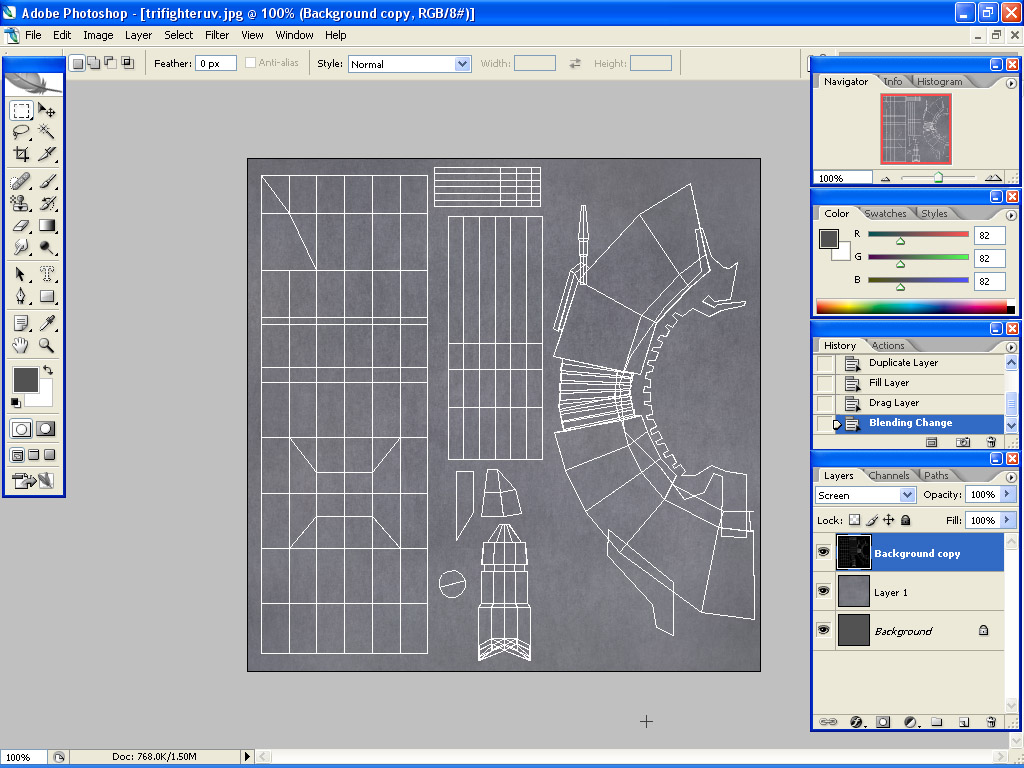
3) Duplicate the background layer and fill the original background layer with black. Set the layer you just duplicated from Normal to Screen.
4) It's very useful to have good references of the thing you're skinning, go to a picture and use the eyedropper tool to take a color sample
5) Make a new layer and fill it with the sampled color
6) You'll need some good grunge brushes, go to burn and set it to 8% and on highlights. Burn the entire layer until it looks like there's enough variation, be sure not to overdo it.
7) Go to dodge and set it also to 8% and highlights. Use a different grunge brush and do the same thing you did with burn.
If you don't have Texporter, then take a screenshot of the UV map and crop it.
2) Save your UV map as a jpg file and open it with Photoshop

3) Duplicate the background layer and fill the original background layer with black. Set the layer you just duplicated from Normal to Screen.
4) It's very useful to have good references of the thing you're skinning, go to a picture and use the eyedropper tool to take a color sample
5) Make a new layer and fill it with the sampled color
6) You'll need some good grunge brushes, go to burn and set it to 8% and on highlights. Burn the entire layer until it looks like there's enough variation, be sure not to overdo it.
7) Go to dodge and set it also to 8% and highlights. Use a different grunge brush and do the same thing you did with burn.
 Previous
Comments
Display order: Newest first
Duke - Friday February 22, 2008 - 14:29
Great tutorial Nick! Keep it up 